
how to make waffles crispy fluffy comes down to a few controllable levers: batter hydration, fat and starch choices, waffle iron heat, and what you do in the first two minutes after it lifts.
If your waffles keep turning out limp, it’s rarely because your recipe is “bad.” More often, steam gets trapped, the iron isn’t fully preheated, or the batter structure can’t hold pockets of air long enough to set. The good news is you can fix all of that without buying new gear.
Below you’ll get a practical checklist to diagnose what’s going wrong, a reliable batter framework that works with most waffle makers, and small technique moves that create that crunchy shell with a fluffy center. No drama, just repeatable results.
What “crispy outside, fluffy inside” really means
To get the texture people describe as diner-style, two things must happen at the same time: the surface must dry and brown, while the interior sets with an open crumb. Crispy is mostly about moisture management and browning, fluffy is about gas bubbles and structure.
- Crispiness: water evaporates, starches gelatinize, and the surface browns via the Maillard reaction.
- Fluffiness: leavening creates bubbles, proteins and starch set around them before they collapse.
According to USDA Food Safety and Inspection Service, you should cook batter-based foods until they’re hot throughout; with waffles, that usually aligns with a fully set interior and better texture, not just safety.
Why waffles turn soggy or dense (common culprits)
Most texture issues trace back to just a few habits. If you fix these, your odds of hitting how to make waffles crispy fluffy go way up.
Steam trapped after cooking
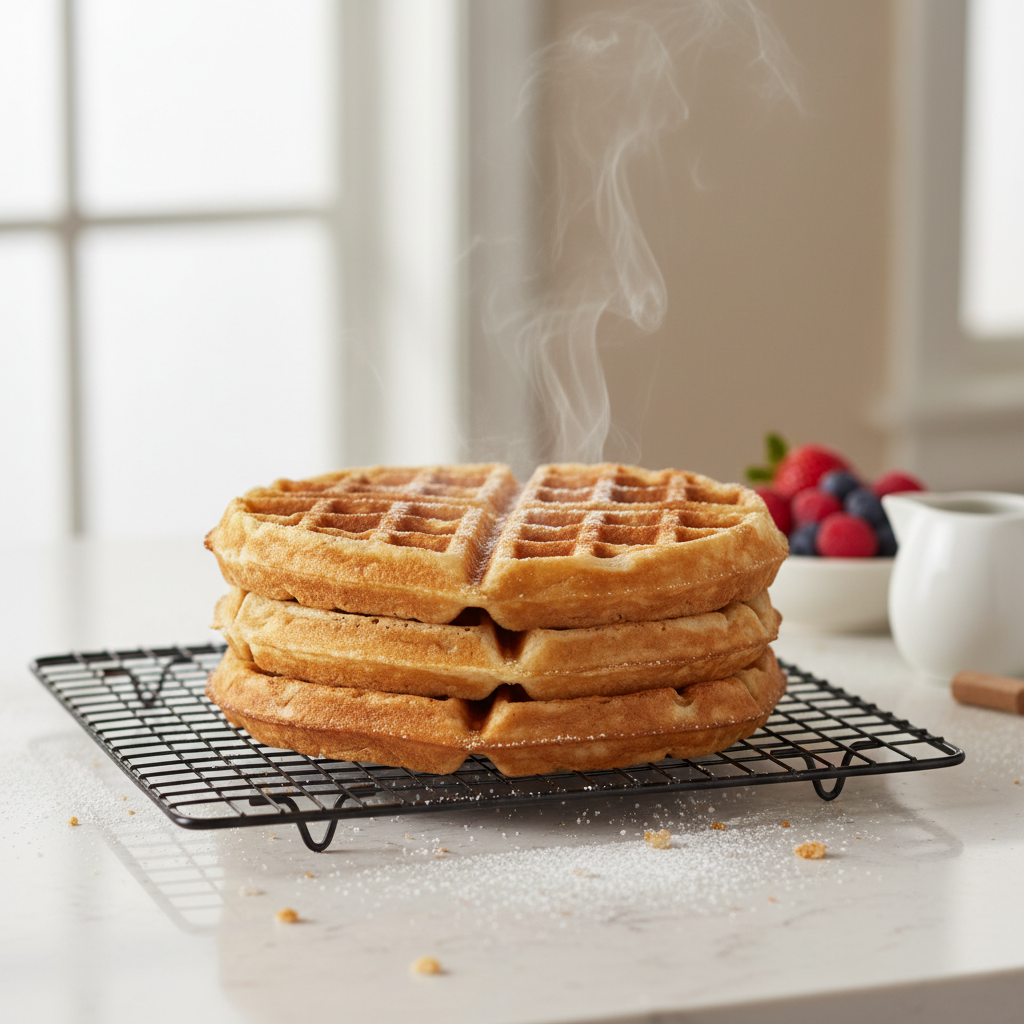
Waffles are basically steam engines. If you stack them or park them on a plate, steam condenses and softens the crust. A wire rack is your friend.
Iron not fully preheated
If the iron is warm but not hot, the batter starts cooking slowly, releasing moisture without browning fast enough. That creates pale, soft waffles.
Batter too wet, or sugar too high
Extra liquid delays browning and keeps the crust thin. Too much sugar can brown early while the center stays undercooked, which feels gummy.
Overmixing (especially with wheat flour)
Overmixing develops gluten, and gluten tightens. The waffle can still taste fine, but it bakes up tougher and less airy.
Quick self-check: which situation are you in?
Pick the line that matches your waffles, then jump to the fix.
- Crisp for 30 seconds, then soft: cooling and holding method needs a change.
- Pale and bready: iron heat too low, batter too wet, or fat too low.
- Brown outside, raw inside: iron too hot, batter too thick, or sugar too high.
- Dense and heavy: overmixing, old leavening, or batter sitting too long.
- Sticks to the iron: not enough fat, not hot enough, or iron needs seasoning/cleaning.
If you’re not sure, start with heat and steam management first. Those two fixes solve more problems than recipe tweaking.
The batter blueprint: ingredients that push crisp + fluff
You don’t need one “secret recipe,” but you do want a batter that browns well and sets with lift. Here are the levers that matter most.
Use a starch trick (cornstarch or rice flour)
Swapping a small portion of flour for cornstarch or rice flour often improves crispness because it reduces gluten formation and fries up a little drier on the surface.
- Start point: replace 10–20% of the flour with cornstarch or rice flour.
Separate eggs (optional, but helpful)
Whipping egg whites adds air you can’t get by stirring. It’s not mandatory, but if you want extra fluff, it’s a reliable move.
- Beat whites to soft peaks, fold in at the end with a light hand.
Choose the right fat
Fat improves browning and helps the crust resist sogginess. Butter tastes great but can soften as it cools; neutral oil can keep a cleaner crunch.
- Butter: best flavor, slightly softer crust as it cools.
- Canola/vegetable oil: steadier crisp, neutral taste.
Leavening that still works
Baking powder loses strength over time. If your waffles always skew flat, it’s worth replacing it before rewriting your whole method.
Key point: if the batter sits too long, bubbles fade. Mix close to cooking time when possible.
Technique that actually matters (and what to do step-by-step)
This is the part people skip because it sounds basic, but it’s where crispy, fluffy waffles are usually won or lost.
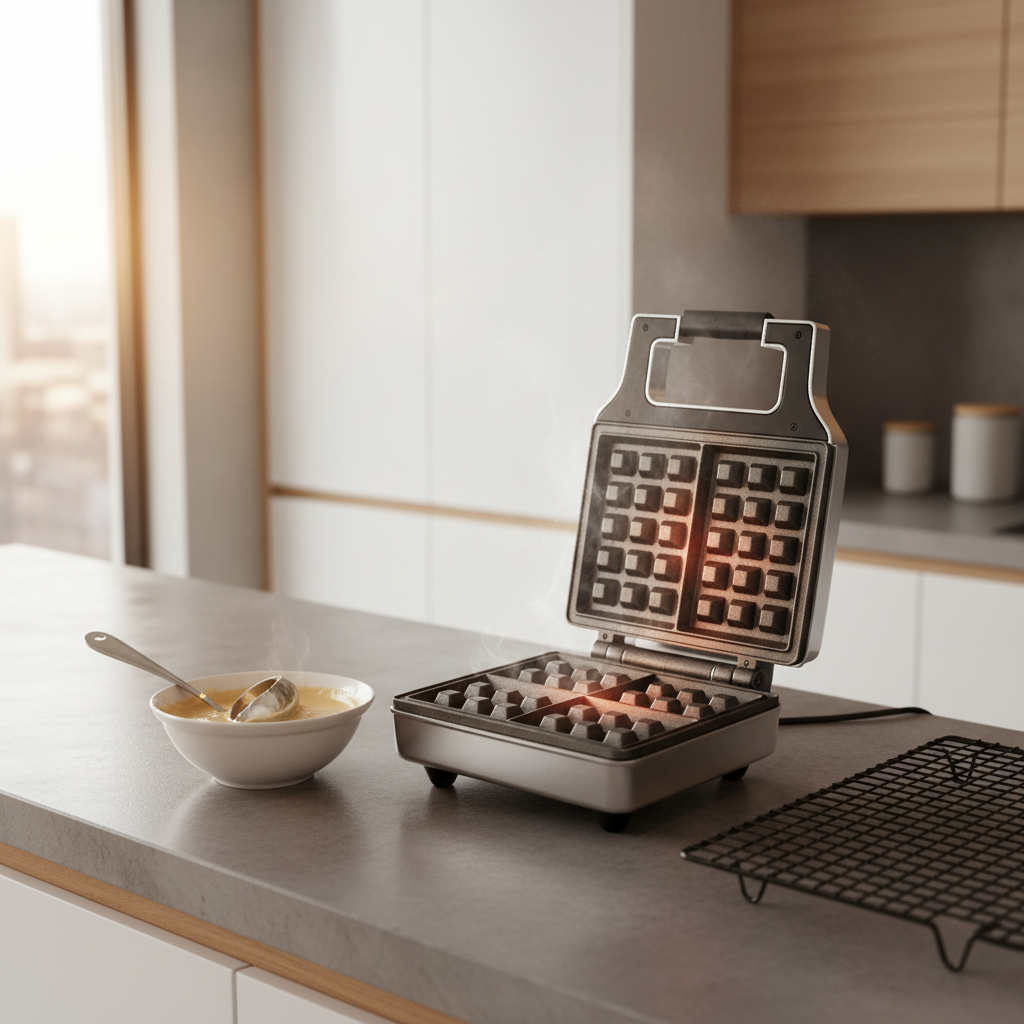
1) Preheat longer than you think
Wait for the ready light, then give it another 3–5 minutes. If your iron has browning levels, start in the medium-high range and adjust after the first waffle.
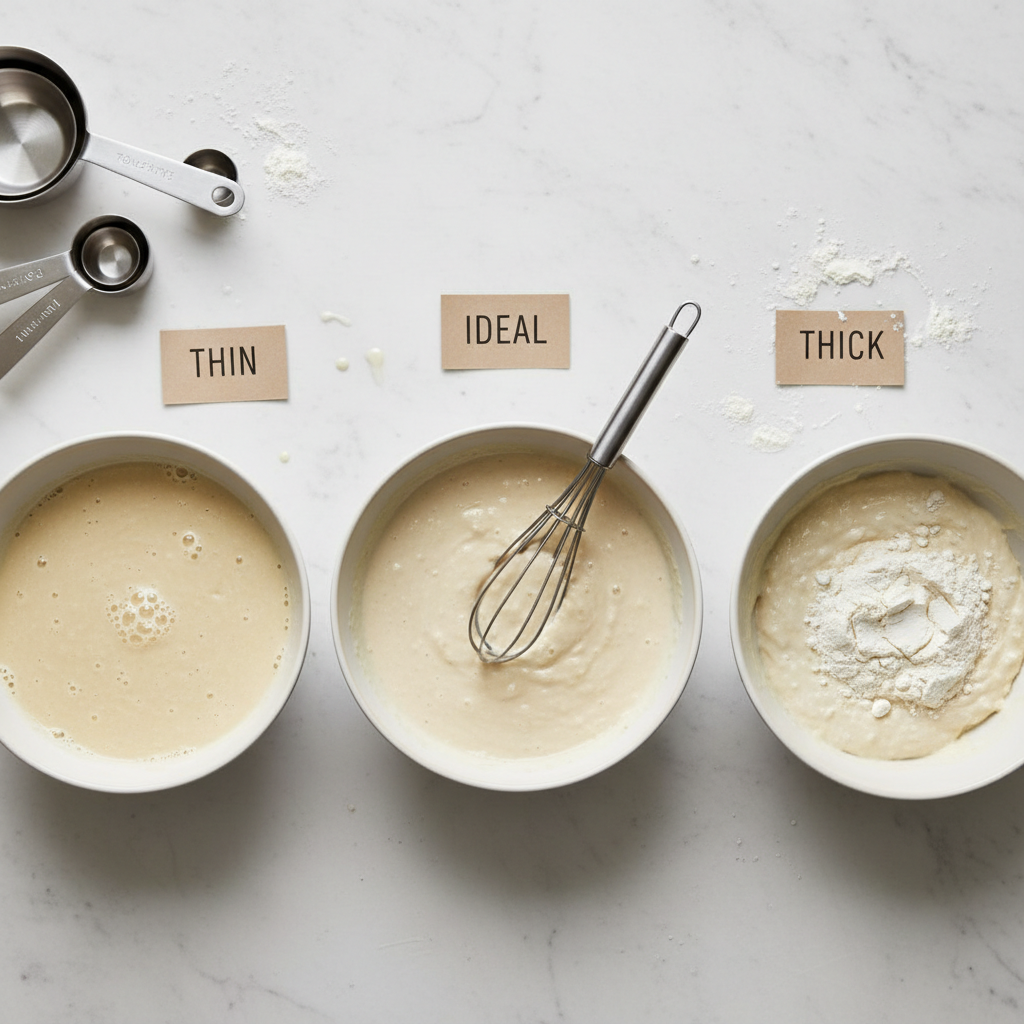
2) Control batter thickness
For most American-style waffle irons, batter should pour easily but not run like water. If it spreads instantly into a thin puddle, it’s too thin for strong structure.
- Too thick: add milk 1 tablespoon at a time.
- Too thin: add flour 1–2 tablespoons, then rest 5 minutes.
3) Don’t peek early
Opening the iron early vents heat and can tear the waffle before it sets. Many irons release steam aggressively at first, then calm down; that “steam taper” is a better cue than the timer.
4) Use a rack, not a plate
Put finished waffles on a wire rack in a single layer. If you’re cooking for a crowd, keep them in a 200°F oven on a rack so moisture can escape. This single change often nails how to make waffles crispy fluffy without touching your recipe.
Troubleshooting table: problem → likely cause → fix
When something goes wrong, avoid changing five things at once. Use this table, pick one fix, test again.
| What you see | Likely cause | What to try next |
|---|---|---|
| Soggy after a minute | Steam trapped while resting | Cool on wire rack, keep warm in oven on rack |
| Pale, soft surface | Iron not hot enough or batter too wet | Preheat longer, raise browning setting, reduce liquid slightly |
| Brown outside, gummy inside | Heat too high or sugar too high | Lower heat one notch, reduce sugar a bit, cook longer without peeking |
| Dense, tight crumb | Overmixing or weak leavening | Mix just until combined, replace baking powder, consider whipped whites |
| Sticking | Insufficient fat or low heat | Lightly oil plates, ensure full preheat, add a bit more oil to batter |
If your first waffle is a throwaway, that’s normal. Use it to calibrate heat and cook time, then keep everything else consistent.
Practical waffle workflow (a repeatable routine)
If you want consistency, a small routine beats chasing a new recipe every weekend.
- Set up first: wire rack on sheet pan, tongs or fork, batter bowl, ladle.
- Preheat fully: ready light plus a few minutes.
- Mix batter gently: stop when flour streaks disappear, lumps are fine.
- Cook until steam slows: then wait another 15–30 seconds for deeper browning.
- Rest on rack: single layer, no stacking until they’ve cooled a bit.
Key takeaway: crisp waffles are more about post-bake handling than people expect, while fluff tends to come from mixing and leavening choices.
Safety and ingredient notes (worth a quick mention)
If you use eggs, dairy, or alternative flours, treat batter like a perishable food. According to U.S. Food and Drug Administration, perishable foods shouldn’t sit out at room temperature for extended periods; when in doubt, refrigerate batter and re-check consistency before cooking.
If you’re adapting for allergies or gluten-free needs, results can vary by brand and blend. In those cases, it may help to follow a recipe designed for that ingredient set, or consult a qualified professional if you need medically strict guidance.
Conclusion: your fastest path to crispy, fluffy waffles
If you only change two things, make it these: fully preheat the iron and cool waffles on a wire rack. Then, if you want even more crunch and lift, tweak batter structure with a little cornstarch or whipped egg whites.
Try one adjustment at a time, take a quick note on cook time and browning setting, and you’ll stop guessing. Next batch, you’ll know exactly how to make waffles crispy fluffy in your own kitchen.
Ready to test? Make a half batch, cook two waffles with your current method, then cook two using the rack + longer preheat method, the difference is usually obvious.