
Jelly recipes feel simple until your first batch turns runny, gritty, or weirdly over-sweet, and then you start wondering if canning is only for experts.
The good news, most homemade jelly issues come from a few predictable things: the fruit juice you chose, how you measured sugar, and whether the jelly reached the right temperature or gel stage.
This guide keeps it practical, you’ll get easy base methods, flavor ideas that work in a typical U.S. kitchen, a quick troubleshooting checklist, and safety notes for storing and gifting.
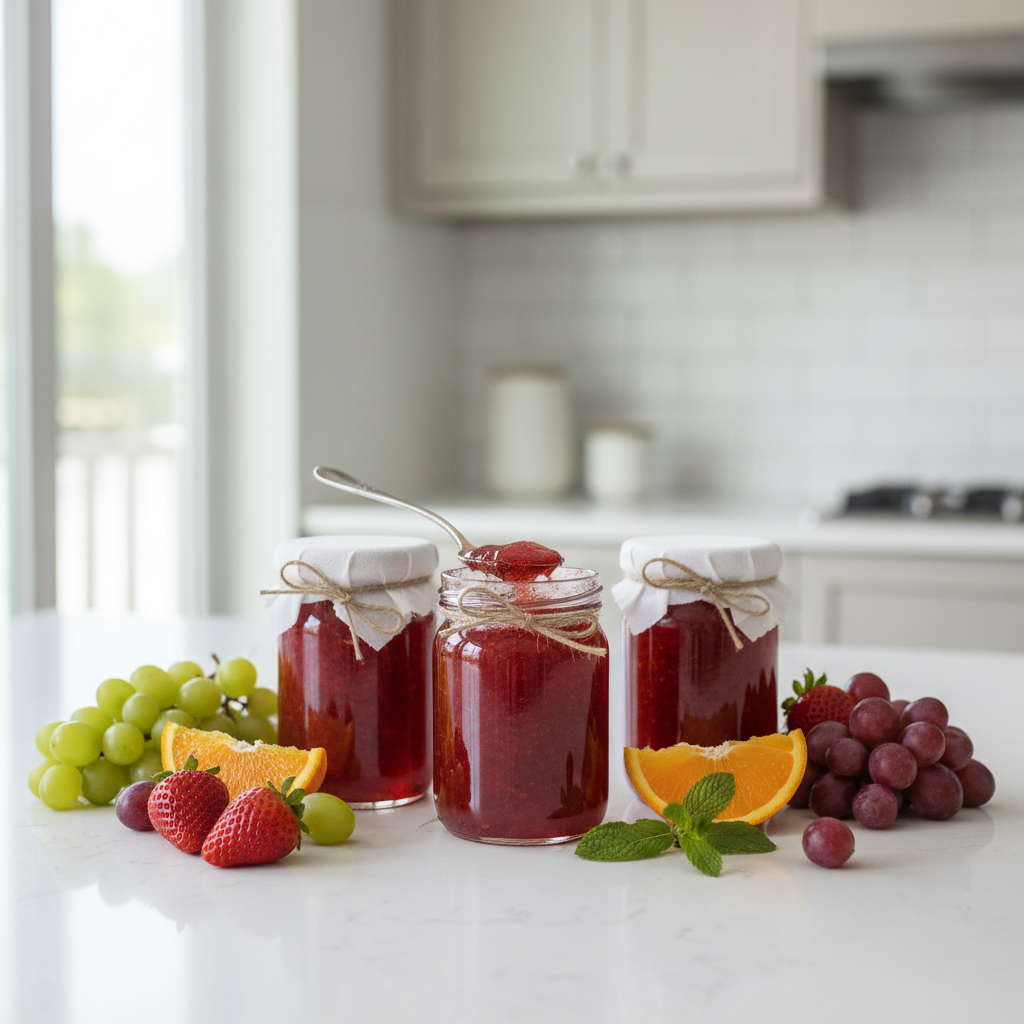
What makes jelly “set” (and why batches fail)
Jelly sets when pectin (a natural fiber in fruit) forms a network with acid and sugar while the mixture concentrates during boiling. If one part is off, you often get syrup instead of a clean gel.
- Not enough pectin: common with low-pectin fruits (like peaches) or very ripe fruit juice.
- Not enough acid: some juices need lemon juice to help pectin do its job.
- Undercooked: the mixture never concentrates enough, so it stays loose.
- Overcooked: you can break down pectin, leading to a weak set and “candy” flavors.
- Measurement drift: swapping sugar types, reducing sugar without a low-sugar pectin, or eyeballing volume.
According to USDA guidance on home canning, following tested recipes and correct processing methods matters for both quality and safety, especially when you store jars at room temperature.
Quick self-check: which jelly situation are you in?
If you’re trying to pick the right approach, use this quick triage before you start one of the jelly recipes below.
- You want the easiest first win: use a high-pectin juice (apple, grape) and powdered pectin.
- You want lower sugar: choose low-sugar pectin and follow its ratios, don’t improvise.
- You only have fresh fruit (not juice): you’ll need to make juice first, and strain well for classic clear jelly.
- You’re canning for pantry storage: use sterilized jars, proper headspace, and a boiling-water canner process (or freeze instead).
- You’re gifting: prioritize tested formulas and label the date and storage instructions.
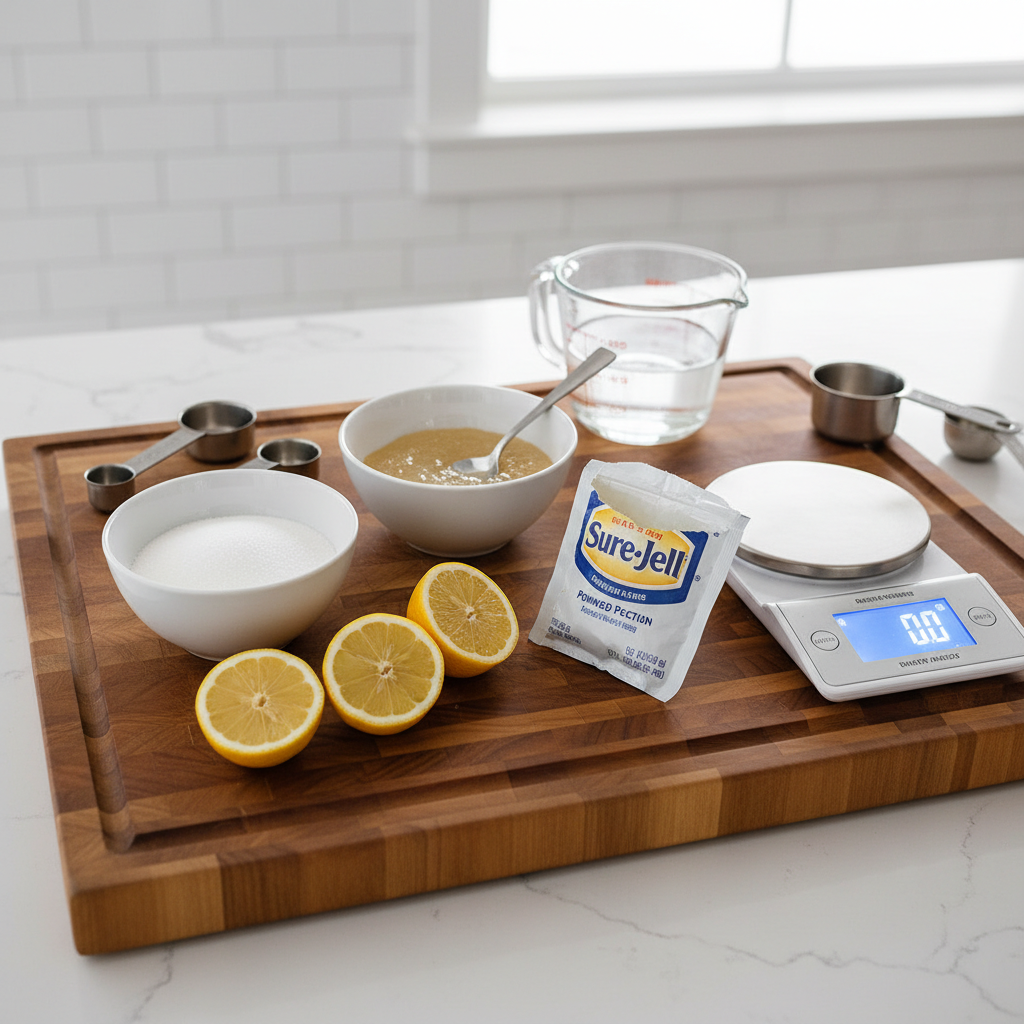
Easy jelly recipes: 4 reliable options (plus flavor twists)
Below are beginner-friendly jelly recipes that usually behave well. Pick one base, then riff with simple add-ins like herbs or citrus zest.
1) Classic grape jelly (the forgiving starter)
Why it works: grape juice has decent natural structure and a familiar flavor, so you can focus on technique.
- Use 100% grape juice (not a “juice drink”).
- Follow your pectin brand’s “grape jelly” directions for juice volume and sugar.
- Optional: add a small pinch of butter to reduce foaming (many home canners do this, but keep it minimal).
Flavor twist: add 1–2 strips of orange peel while boiling, remove before jarring.
2) Apple jelly (clean, bright, great for cheese boards)
Why it works: apples are naturally high in pectin, even without added pectin in many cases, though using pectin makes it more predictable.
- Use apple juice or make apple juice by simmering chopped apples with water, then strain through a jelly bag or fine cloth.
- Add lemon juice for brightness and more reliable gel.
Flavor twist: simmer briefly with a small sprig of rosemary, then remove.
3) Strawberry jelly (clear version of a favorite)
Reality check: most people actually make strawberry jam (with fruit pieces). Strawberry jelly is clearer, but you’ll strain juice, which feels like extra work.
- Mash strawberries, warm gently to release juice, then strain well.
- Use added pectin, strawberries can be unpredictable depending on ripeness.
- Don’t overboil after pectin goes in, it can dull the flavor.
Flavor twist: add a teaspoon of vanilla extract at the very end (off heat).
4) Pepper jelly (sweet-heat, a classic party jar)
Why it works: you’re working with vinegar for acid plus pectin for structure, so set is usually reliable.
- Use chopped bell peppers plus a small amount of hot pepper (jalapeño/serrano). Wear gloves if you’re sensitive.
- Use vinegar exactly as written in the recipe, it affects both gel and safety.
- Skim foam for a clearer finish.
Serving idea: spoon over cream cheese with crackers, or glaze chicken near the end of cooking.
Technique that matters more than the flavor
Most “easy” jelly recipes succeed or fail on the same steps. Nail these and you’ll waste fewer batches.
- Measure by the recipe, not by instinct: pectin is chemistry, especially with regular pectin and full-sugar formulas.
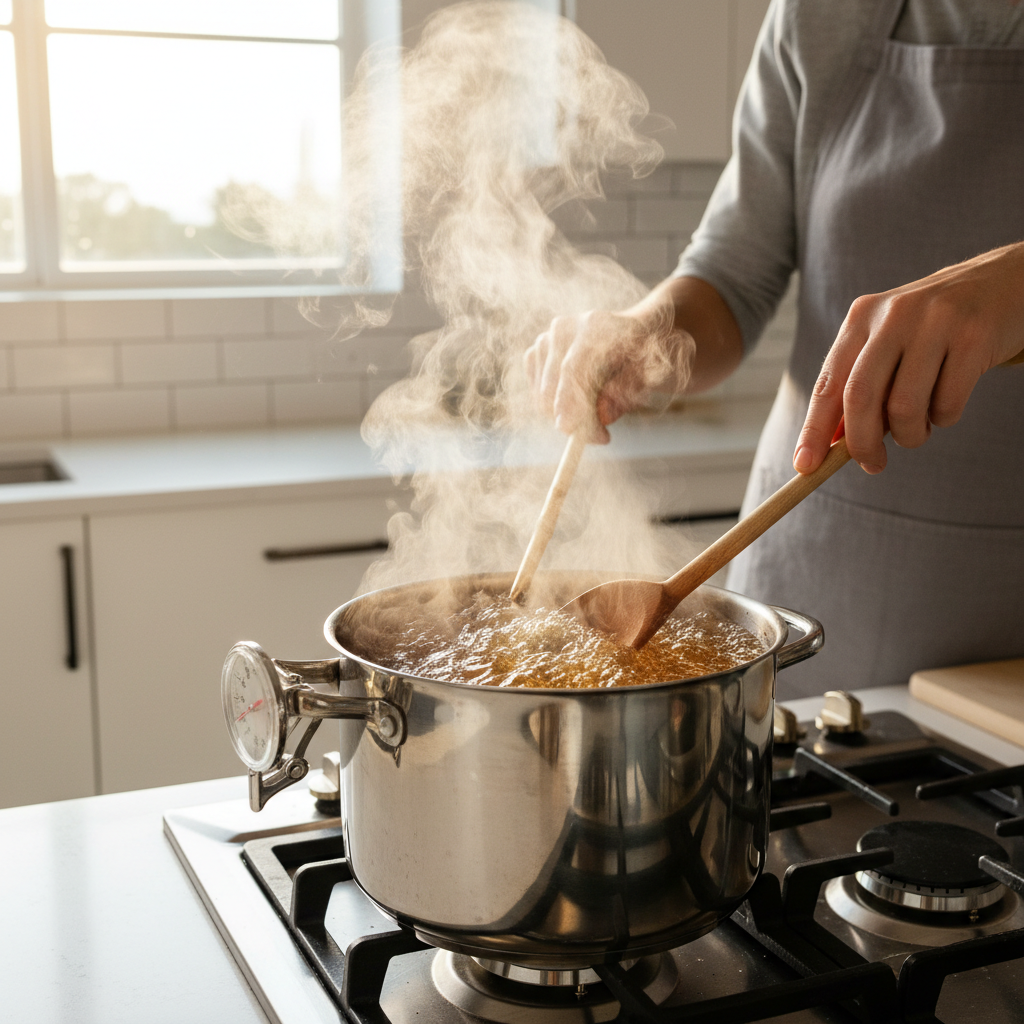
- Bring to a true rolling boil: the boil that doesn’t stop when you stir.
- Know your gel test: use a candy thermometer (often around 220°F at sea level) or the “sheet test” on a spoon; altitude can change targets.
- Skim foam: it’s mostly cosmetic, but it helps a clean jar.
- Rest after filling: jelly often finishes setting after cooling, sometimes taking up to 24–48 hours.
According to National Center for Home Food Preservation, tested home-canning methods help reduce spoilage risk and support consistent results, especially for shelf-stable jars.
Recipe planning table: choose your best match
If you’re deciding what to make this weekend, this table is the quick shortcut.
| Option | Skill level | Set reliability | Best use | Notes |
|---|---|---|---|---|
| Grape jelly (juice + pectin) | Beginner | High | PB&J, breakfasts | Choose 100% juice for consistent sweetness |
| Apple jelly (juice or homemade) | Beginner-Intermediate | High | Cheese boards, glazes | Great base for herb infusions |
| Strawberry jelly (strained juice) | Intermediate | Medium | Desserts, toast | Use pectin, berries vary by ripeness |
| Pepper jelly (vinegar + pectin) | Beginner | High | Appetizers, glazing meats | Control heat by adjusting hot pepper amount |
Practical troubleshooting: fix runny, stiff, or cloudy jelly
When a batch goes off, it’s usually fixable, but timing matters. Before you re-cook, give it a day or two to finish setting.
- Runny jelly after 48 hours: you can re-cook with additional pectin using a tested “remake jelly” method from your pectin brand; avoid random extra boiling, it can mute flavor.
- Too stiff or rubbery: often from overcooking or too much pectin, use it as a glaze or melt a spoonful into sauces rather than tossing it.
- Crystals/grainy texture: sugar didn’t dissolve fully or the mix cooled too slowly, reheat gently until fully dissolved, then reprocess if you’re canning.
- Cloudy jelly: juice wasn’t strained enough or you squeezed the jelly bag too hard, still tasty, just not “clear.”
- Separation/foam cap: skim foam and stir well before jarring next time, cosmetic more than anything.
Key point: if the jar shows signs of spoilage (off smell, visible mold, leaking lids), don’t taste-test, discard and review your process.
Safety and storage: pantry canning vs. refrigerator vs. freezer
This is where people quietly get nervous, and that’s fair. If you want pantry-stable jars, use a boiling-water canner method from a tested source. If you want the easiest route, make small batches and store cold.
- Refrigerator jelly: simplest, good for small batches, use clean jars and keep refrigerated.
- Freezer jelly: often keeps fresher flavor, but headspace matters so containers don’t crack as it expands.
- Water-bath canned jelly: shelf-stable when processed correctly, follow tested recipes, jar size, headspace, and processing time.
According to FDA food safety guidance, when you’re unsure about a preserved food’s safety, it’s safer to discard than to taste, and if you have medical concerns (like immune compromise), it may be wise to consult a qualified professional.
Key takeaways before you start your next batch
- Pick a reliable first recipe: grape or pepper jelly tends to set with fewer surprises.
- Don’t freestyle ratios: sugar, acid, and pectin need to match the formula.
- Test for gel properly: thermometer or spoon test, then give it time to set.
- Choose your storage plan early: fridge/freezer is easier, pantry storage needs a tested canning process.
If you want one action step, choose a single base from the table, buy the matching pectin, and run a small batch first. It’s the fastest way to build confidence without turning your kitchen into a sticky science project.
FAQ
What’s the difference between jelly and jam?
Jelly is made from strained juice, so it sets clear and smooth. Jam uses crushed or chopped fruit, so it’s thicker with texture. If you hate straining, jam often feels more forgiving.
Can I reduce sugar in jelly recipes?
Sometimes, but it depends on the pectin type. Many classic formulas need full sugar to gel. If you want less sugar, use low-sugar pectin and follow its instructions closely rather than guessing.
Why didn’t my jelly set even though I boiled it?
Common causes include not reaching a true rolling boil, boiling too long after adding pectin, or using low-pectin juice without compensating. Also, some jellies need a full day or two to finish setting.
Do I have to use lemon juice?
Not always, but lemon juice is an easy way to add acid, which helps pectin gel and can brighten flavor. In many recipes it’s part of the tested balance, so skipping it can change results.
What pectin should I buy?
Powdered and liquid pectin both work, but they’re not always interchangeable in the same recipe. Start with one brand, use its included jelly recipes, and avoid swapping formats midstream.
How do I keep pepper jelly from being too spicy?
Use more bell pepper and less hot pepper, and remove seeds and membranes for milder heat. The vinegar and sugar balance matters too, so keep those steady.
How long does homemade jelly last?
It varies by storage method and recipe. Refrigerated jelly is typically shorter-lived than properly water-bath canned jelly. When in doubt, label jars with the date and follow tested storage guidance.
If you’re making jelly recipes as gifts or you just want fewer surprises, it can help to pick one tested base recipe and standardize your tools, same pot, same thermometer, same jar size, and repeat it a couple times before you branch into creative flavors.