
how to make bread at home easy usually comes down to two things: using a simple dough you can handle, and knowing what “good enough” looks like at each step so you don’t overthink it.
If you’ve tried before and ended up with a brick, you’re not alone, most home bread problems come from yeast that didn’t activate, dough that stayed too dry, or a kitchen that was colder than the recipe assumed.
This guide keeps it practical: one reliable beginner loaf, a small checklist to diagnose issues fast, and a few variations so you can make it work with the tools you already have.
What makes homemade bread “easy” (and where people get stuck)
Easy bread isn’t magic, it’s a method with fewer decision points. The goal is a dough that’s slightly tacky, rises predictably, and bakes through without drying out.
Where most beginners get stuck is not the mixing, it’s the expectations: dough won’t look “smooth and perfect” right away, rise times vary by room temperature, and flour brands absorb water differently.
- Yeast confusion: “Instant” and “active dry” behave a bit differently, but both can work if you give them the right water temp.
- Too much flour: The number-one reason loaves turn dense, adding flour to stop stickiness can go too far.
- Rushing the rise: Dough needs time to trap gas, otherwise the crumb stays tight and heavy.
- Overbaking: A few extra minutes can dry the loaf quickly, especially in smaller ovens.
Key point: “Easy” bread is repeatable bread, you want a process you can run on a weeknight, not a one-time hero loaf.
The easiest beginner loaf: ingredients and tools
This is a straightforward sandwich-style loaf with pantry staples. If you’re searching how to make bread at home easy, this is the type of recipe that tends to be forgiving.
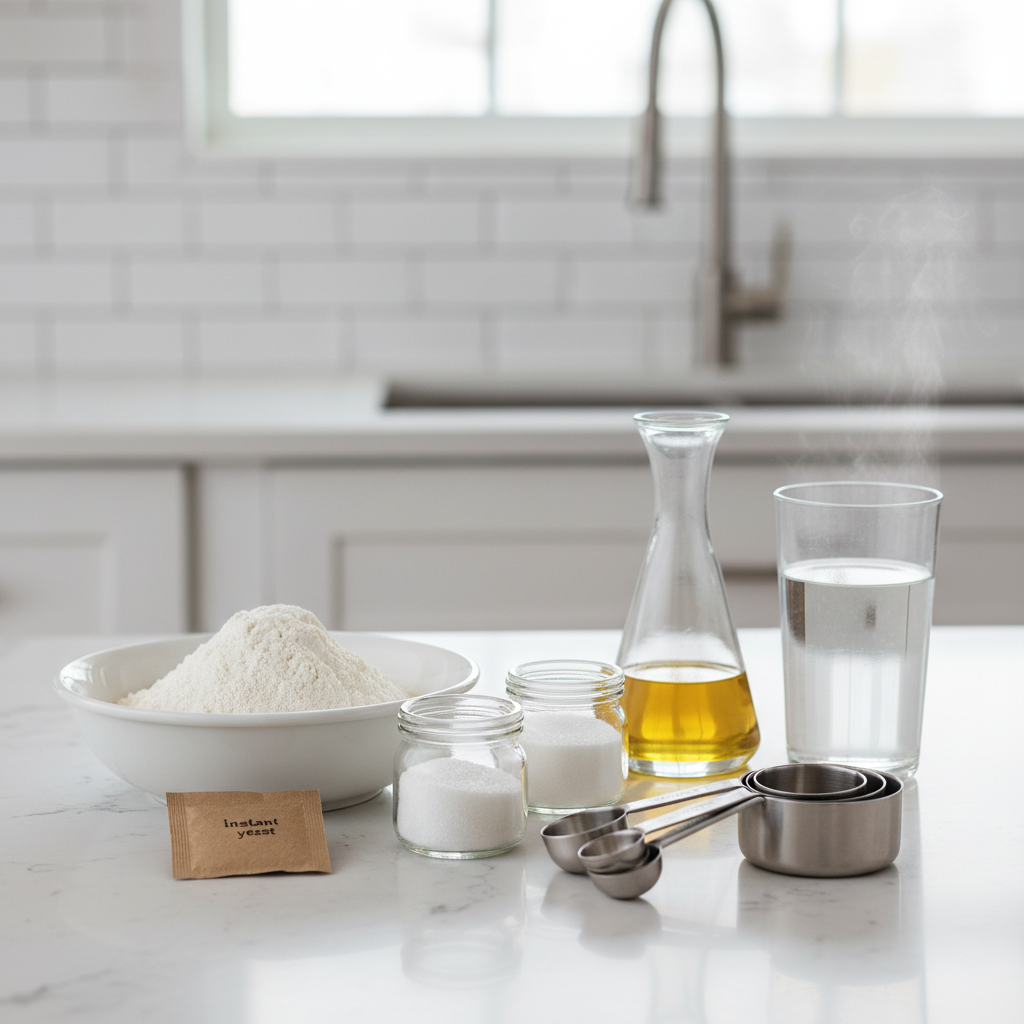
Ingredients (1 loaf)
- 3 1/4 cups all-purpose flour (plus a little for shaping)
- 1 1/4 cups warm water (aim for warm, not hot)
- 2 1/4 tsp yeast (one packet)
- 1 1/2 tsp salt
- 1 tbsp sugar or honey (helps yeast get going and softens crumb)
- 2 tbsp olive oil or neutral oil (optional, but makes a softer loaf)
Tools
- Large bowl, spoon or spatula
- Loaf pan (8.5x4.5 or 9x5 both work)
- Kitchen towel or plastic wrap
- Oven thermometer is helpful, not required
According to USDA, proper handwashing and clean surfaces reduce the risk of foodborne illness, which matters any time you handle flour and sticky dough.
Step-by-step: mix, rise, shape, bake (with visual cues)
Below is the flow that keeps decision fatigue low. If you want how to make bread at home easy without turning it into a weekend project, focus on the cues in bold.
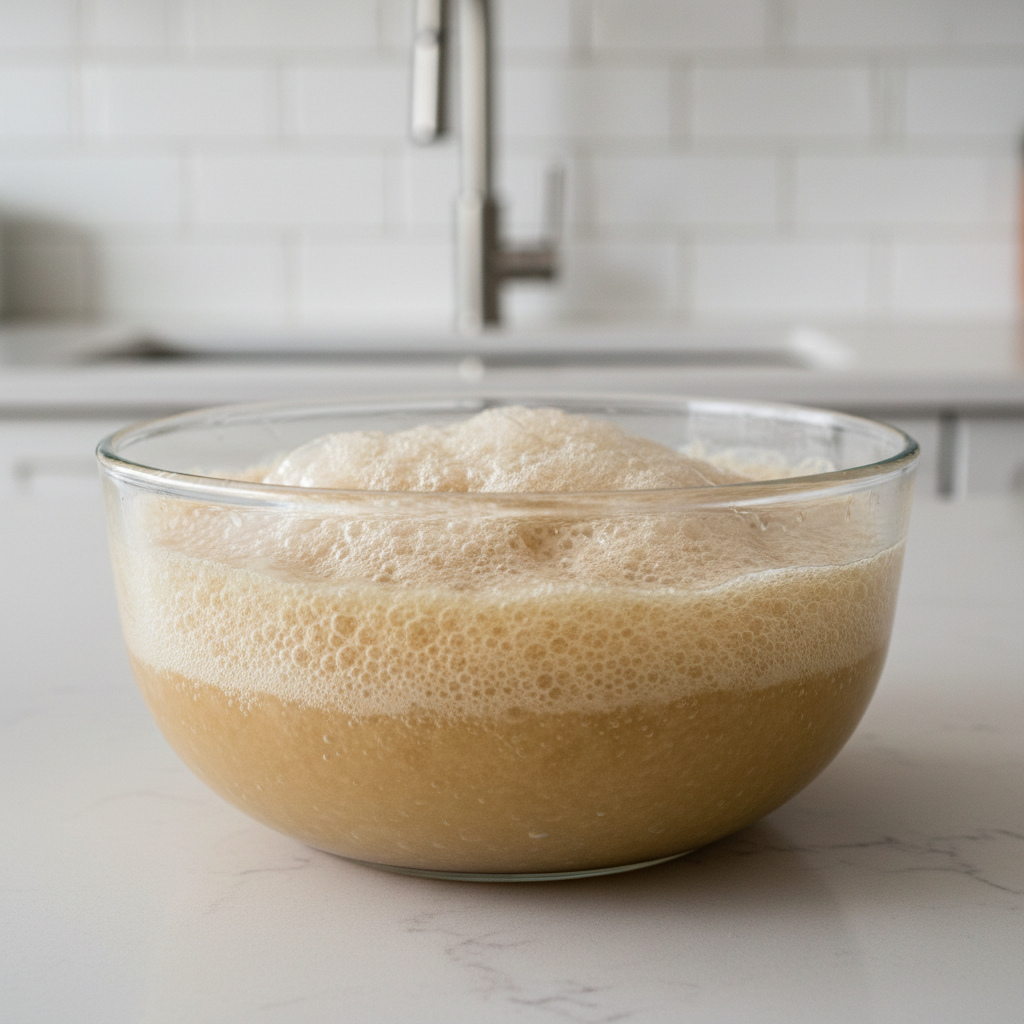
1) Activate yeast (optional but reassuring)
Stir yeast and sugar into warm water, wait 5 to 10 minutes. You want a foamy cap. If it stays flat, the yeast may be old, or the water may be too hot/cold.
2) Mix dough
Add flour, salt, and oil, stir until a shaggy dough forms. It should look rough and slightly sticky, not dry and crumbly.
3) Knead briefly
Knead 8 to 10 minutes by hand, or 5 to 6 minutes in a stand mixer. If it sticks a lot, dust your hands, not the whole bowl. Stop when dough feels elastic and stretches without tearing fast.
4) First rise
Place in a lightly oiled bowl, cover, let rise until roughly doubled. In many homes this takes 60 to 90 minutes, but temperature changes everything.
- Ready: you press a finger lightly, the dent slowly springs back
- Not ready: it bounces back immediately
5) Shape and second rise
Gently press out big air bubbles, roll into a log, pinch seam, place in greased pan. Cover and rise 30 to 60 minutes. Ready when dough crowns about 1 inch above the pan rim.
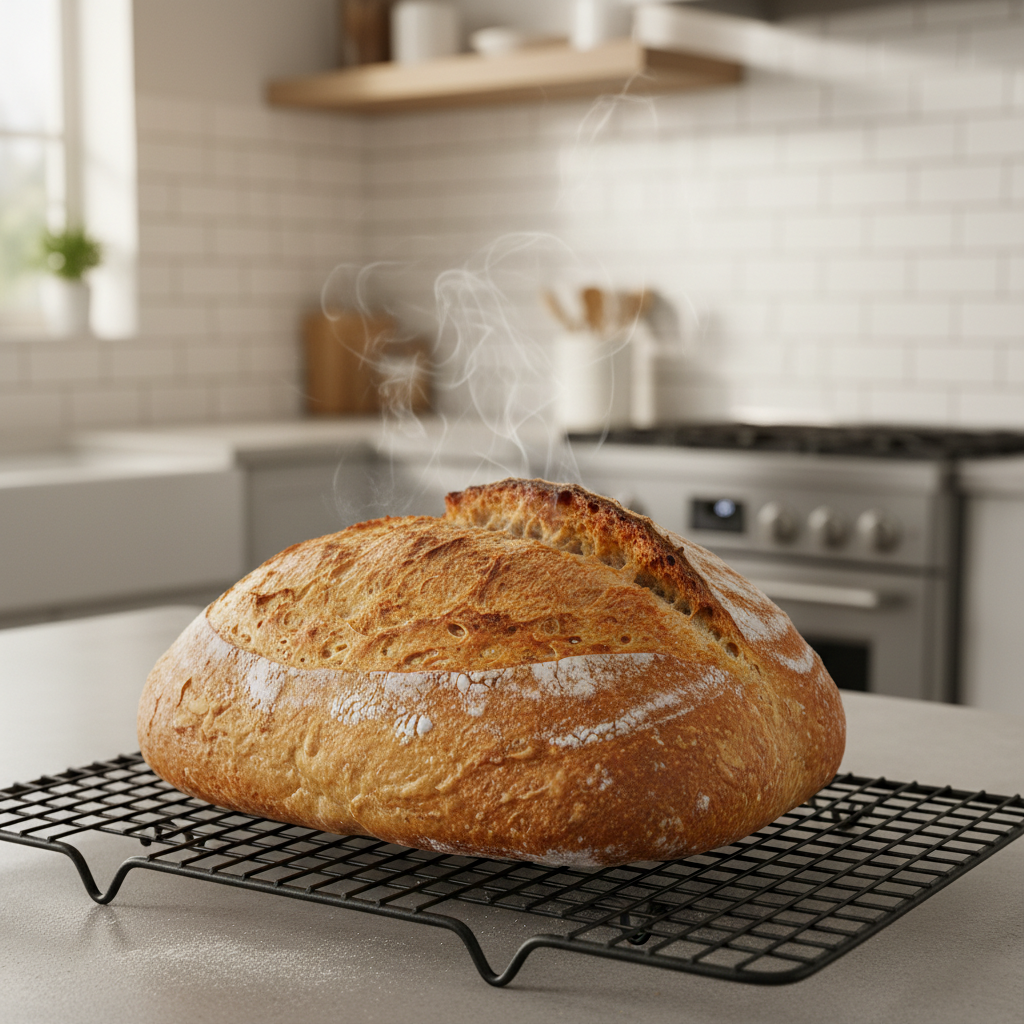
6) Bake
Bake at 375°F for 30 to 35 minutes. If the top browns too fast, tent with foil for the last 10 minutes. Done when the loaf sounds hollow when tapped and looks deeply golden.
Cool at least 30 minutes before slicing. Cutting too early can make the inside feel gummy even if it baked through.
Quick self-check: what your dough is telling you
This is the section people wish they had before their first loaf. Use it to correct mid-process instead of guessing.
| Symptom | Likely cause | What to do next time |
|---|---|---|
| Dough feels dry, won’t come together | Too much flour or low-hydration flour brand | Add water 1 tsp at a time, stop when tacky |
| Dough spreads and won’t hold shape | Too wet or under-kneaded | Knead a bit longer, add flour by dusting not dumping |
| Little to no rise | Inactive yeast or cold kitchen | Proof yeast, use a warmer spot, extend rise time |
| Loaf dense with tight crumb | Under-proofed or too much flour | Let rise longer, keep dough slightly sticky |
| Crust too hard | Overbaked or oven runs hot | Check oven temp, bake less, add a touch of oil |
Easy variations once you’ve nailed the basic loaf
After you get one solid win, you can change one variable at a time. That keeps the “easy” part intact while you learn what you actually like.
- Whole wheat swap: Replace up to 1 cup of all-purpose flour with whole wheat, add 1 to 2 tbsp extra water if dough tightens.
- Garlic herb loaf: Mix in 1 to 2 tsp dried Italian herbs and 1/2 tsp garlic powder, brush top with olive oil before baking.
- Soft dinner-roll style: Add 1 tbsp extra sugar and 1 tbsp extra oil, then bake as rolls for 15 to 18 minutes.
- No loaf pan: Shape into a round, bake on a sheet pan, check at 28 to 35 minutes depending on size.
If you’re still trying to figure out how to make bread at home easy, resist the urge to stack multiple changes at once, add whole wheat, seeds, and extra water together, then it’s hard to learn what caused what.
Common mistakes that quietly ruin “easy” bread
- Measuring flour by scooping: It can pack flour into the cup. If possible, spoon and level, or use a kitchen scale.
- Adding flour to fix stickiness: Sticky dough feels wrong at first, but a slightly tacky dough often bakes lighter.
- Using water that’s too hot: Hot water can damage yeast. Warm water should feel comfortable on your wrist.
- Over-proofing in a very warm spot: Dough can rise fast, then collapse. Watch the dough, not the clock.
- Slicing while hot: The crumb finishes setting as it cools, patience pays off here.
According to FDA, using a food thermometer is a reliable way to confirm doneness in cooked foods. If you want extra certainty, checking internal temperature can help, though for bread many home cooks use color and sound cues.
Practical plan: your first loaf this week (no overthinking)
Here’s a simple way to fit it into a normal evening. This is often the fastest route from “I’m curious” to “I can do this,” which is really the whole point of how to make bread at home easy.
- Pick a day: choose a 3-hour window at home, with breaks while dough rises.
- Set a baseline: bake the basic loaf once before variations.
- Take two notes: how sticky the dough felt, and how long the rise really took in your kitchen.
- Adjust one thing next time: slightly more water, slightly longer rise, or slightly shorter bake.
Conclusion: keep it simple, then make it yours
If you want how to make bread at home easy, don’t chase perfection on loaf one, chase a repeatable routine: a tacky dough, a real rise, and a bake that stops before the crumb dries out.
Your next move: bake the basic loaf once this week, then tweak only one variable on loaf two, that’s where confidence starts to feel real.
FAQ
- What is the easiest bread for a beginner?
Usually a simple yeast loaf with all-purpose flour and a loaf pan, it’s forgiving, and the pan helps the dough hold shape even if shaping skills feel shaky. - Why didn’t my dough rise even though I used yeast?
Common causes include old yeast, water that was too hot, or a cold kitchen. Proofing yeast in warm water with a little sugar can quickly show whether it’s active. - How sticky should dough be when learning how to make bread at home easy?
It often feels slightly tacky, especially early on. If it coats your hands like paste, it’s too wet, if it feels dry and stiff, it’s likely too flour-heavy. - Can I make bread without a stand mixer?
Yes. Hand-kneading works well for this loaf, and many people find it easier to “feel” when dough becomes elastic. - Do I need bread flour?
No. Bread flour can give a chewier crumb because it’s higher in protein, but all-purpose flour makes a solid, soft everyday loaf. - How do I store homemade bread so it stays soft?
Let it cool fully, then store in a bag or container at room temp for a couple days. For longer storage, freezing slices tends to work better than refrigerating, which can dry bread out. - Is it safe to eat bread that seems slightly gummy inside?
Gumminess can come from slicing too soon or underbaking. If you suspect it’s underbaked, baking a bit longer next time helps, and if you have food safety concerns, it’s reasonable to consult a food safety professional resource.
If you’re busy and still want consistent results, it may help to use a digital scale and keep one “house recipe” saved with your exact rise times, that small bit of structure often makes homemade bread feel genuinely easy.