
Portuguese custard tarts can feel intimidating in a home kitchen, mostly because you’re chasing two things at once: shatteringly crisp pastry and a smooth, set custard that still tastes rich.
The good news is you don’t need a pastry degree to get close to that bakery vibe. With the right shortcuts, a clear temperature plan, and a couple of small technique tweaks, you can bake a tray that looks impressive and tastes even better.
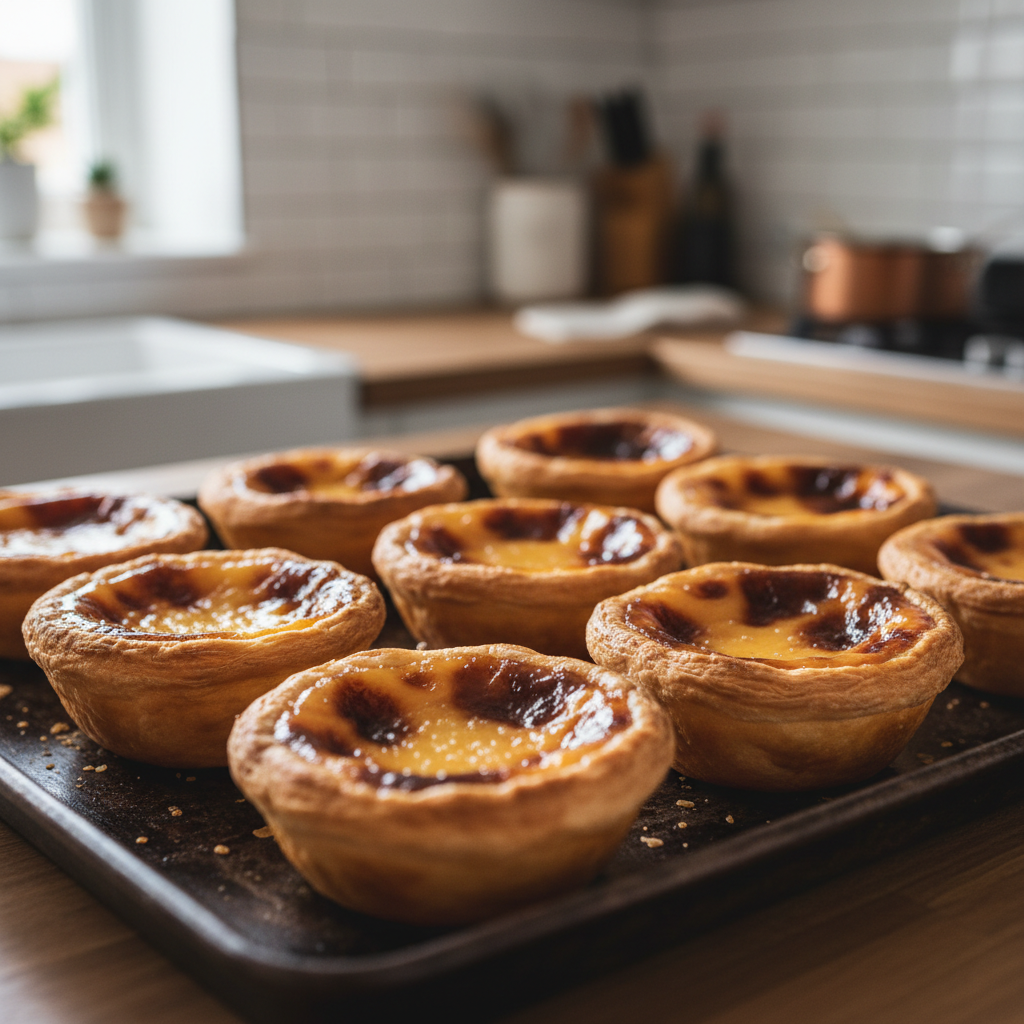
I’ll walk you through an easy method using store-bought puff pastry (still delicious), plus a slightly more “from-scratch” option if you want to level up later. You’ll also get a troubleshooting section, because most failures repeat in predictable ways.
What makes a great tart (and why home batches go wrong)
A classic tart has a laminated crust, meaning lots of thin layers that bake into flakes, and a custard that sets without turning bouncy or grainy. At home, the issues usually come from heat control and custard handling, not the recipe list.
- Oven not hot enough: these tarts want aggressive top heat to blister and brown while the custard stays creamy.
- Custard cooked too hard on the stove: over-thickened custard can bake up eggy, or separate.
- Pastry warms up: warm dough loses layers and shrinks, then you get dense sides.
- Wrong pan shape: shallow cups won’t support the dramatic rise and caramelization.
According to the USDA, eggs should be cooked until they reach a safe internal temperature; if you’re nervous about doneness, using an instant-read thermometer can help, and for anyone at higher risk it may be smart to consult a healthcare professional about egg safety.
Ingredients and gear (simple, with a few smart swaps)
This version aims for “weekday doable” in an American kitchen. If you can find Portuguese-style tart tins, great, but a standard muffin tin works well enough.
Ingredients (12 tarts)
- 1 sheet all-butter puff pastry, thawed but still cool
- 1 cup whole milk
- 1/2 cup heavy cream
- 2/3 cup granulated sugar
- 2 tbsp cornstarch
- 1 cinnamon stick (or 1/2 tsp ground cinnamon)
- 1 strip lemon peel (no white pith if possible)
- 6 large egg yolks
- 1 tsp vanilla extract (optional, not traditional, but pleasant)
- Pinch of salt
Gear
- Muffin tin or Portuguese tart tins
- Saucepan and whisk
- Fine-mesh strainer
- Measuring cup with spout (makes filling cleaner)
Quick comparison table: your main options
| Option | Effort | Texture result | Best for |
|---|---|---|---|
| Store-bought puff pastry | Low | Flaky, slightly less “spiral” look | First-time bakers, weeknights |
| Homemade rough puff | Medium | More lift, better bite | Weekend projects |
| Traditional laminated dough | High | Most authentic layers | Pastry enthusiasts |
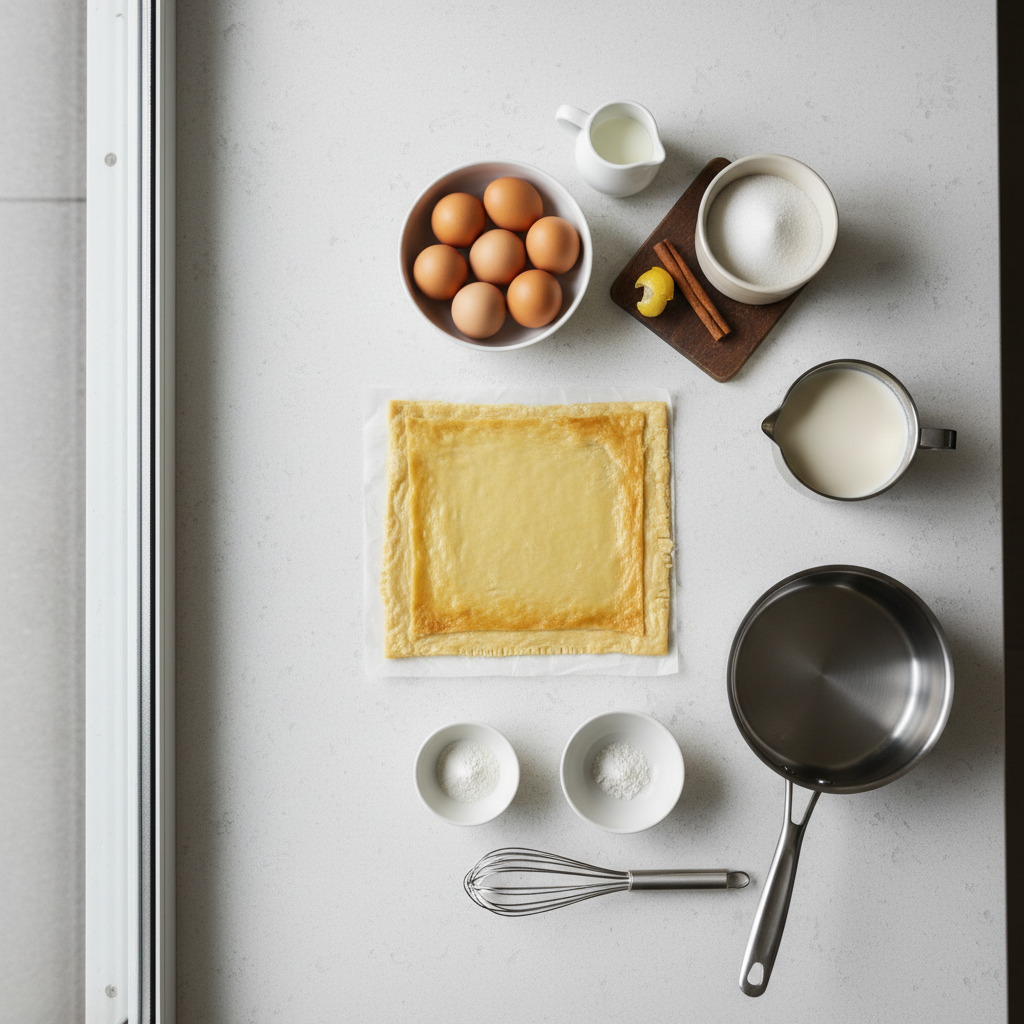
Step-by-step: easy Portuguese custard tarts (store-bought pastry)
Portuguese custard tarts bake fast and punish hesitation, so it helps to prep in a clean order: pastry first, custard second, then bake right away.
1) Prep the pastry cups
- Heat oven to 500°F if your oven allows, or 475°F if it runs hot or you’re cautious.
- Lightly butter your muffin tin.
- Roll the puff pastry into a tight log, then slice into 12 coins.
- Press each coin into a cup, pushing dough up the sides; keep the base slightly thicker than the rim.
- Chill the tin in the fridge while you make custard.
If the dough turns sticky or soft, pause and chill. Warm pastry is where most “why is this dense?” complaints start.
2) Make the custard (stovetop)
- In a saucepan (off heat), whisk sugar, cornstarch, salt.
- Whisk in milk and cream until smooth, then add cinnamon and lemon peel.
- Cook over medium heat, whisking, until it thickens to a loose pudding texture.
- Remove from heat, let it cool 5 minutes, then whisk in egg yolks and vanilla.
- Strain to remove cinnamon/lemon and any small lumps.
Key point: you want the custard thick enough to suspend itself, but not so thick it looks like pastry cream. It will finish setting in the oven.
3) Fill and bake hard and fast
- Fill each cup about 3/4 full.
- Bake 10–14 minutes, until tops blister and darken in spots.
- Cool 10 minutes in the tin, then lift out to finish cooling on a rack.
They taste best warm, but not scorching hot. Give the custard a few minutes to settle so it stays creamy when you bite in.
Temperature and timing: the “pro” feel without overthinking
A lot of home ovens struggle to mimic the fierce heat of Portuguese pastry shops. You can still get close if you manage where the heat hits.
- Use the upper third rack: better top browning for that signature spotted surface.
- Preheat longer than you think: at least 20–30 minutes so the metal and air are truly hot.
- Convection helps, sometimes: if your convection browns too fast, switch it off and rely on high static heat.
- Broiler as a rescue, not a plan: a quick 30–60 seconds can add spots, but it can also over-darken quickly.
According to the U.S. Food & Drug Administration (FDA), home ovens can vary substantially, so adjusting cook times based on visual cues and internal temperature is often more reliable than any one timer.
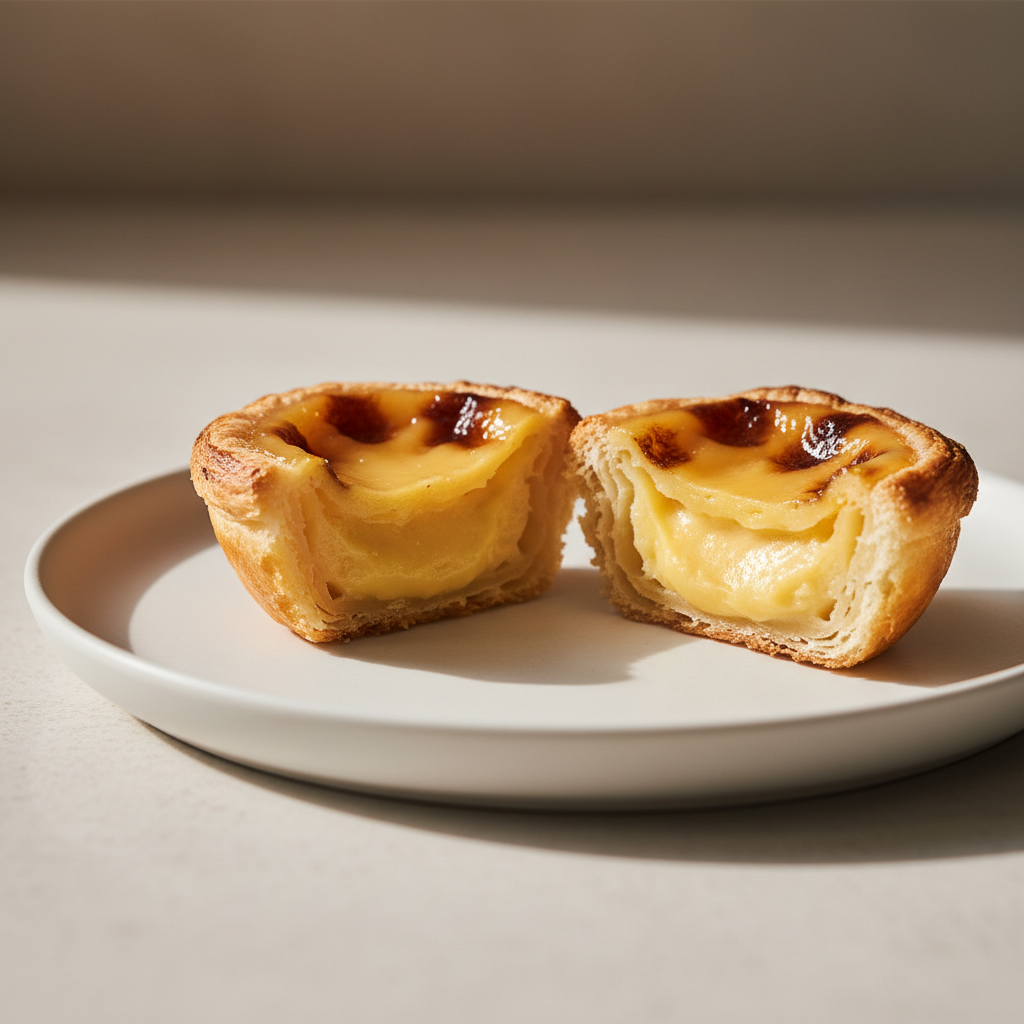
Common problems and quick fixes (this is where most people win)
If your batch didn’t look like the photos, you’re not alone. These are the usual culprits, and the fixes are mostly simple.
- Custard looks scrambled: stove heat too high, or yolks added while base was too hot. Next time, cool 5–10 minutes, then whisk yolks in slowly.
- Watery center: underbaked or custard base too thin. Bake 1–2 minutes longer, and cook the custard a touch more on the stove.
- No dark spots on top: oven not hot enough or rack too low. Move rack up, preheat longer, consider baking on a preheated sheet pan.
- Dense, bready pastry: dough warmed up, or you pressed out the layers too aggressively. Keep pastry cold and press more gently.
- Pastry shrank down the sides: cups weren’t chilled, or you stretched the dough thin at the rim. Chill the formed cups before filling.
Make-ahead, storing, and reheating (so they’re still worth it)
These tarts are at their peak within a few hours. That said, you can still plan ahead if you accept a small trade-off in crispness.
- Make custard ahead: refrigerate up to 2 days, press plastic wrap onto the surface, whisk smooth before using.
- Form pastry cups ahead: keep chilled up to 24 hours, covered so they don’t dry out.
- Store baked tarts: airtight container in the fridge 2–3 days.
- Reheat: 350°F for 6–10 minutes to re-crisp; microwaving works in a pinch but softens the pastry.
If you’re bringing them to brunch, baking the morning of is the move. Even a quick reheat helps the crust come back to life.
Practical tips for a more “Lisbon-style” finish
You can keep the recipe easy and still get closer to the classic look and flavor. These small choices matter more than fancy ingredients.
- Pick better puff pastry: all-butter versions usually bake flakier than oil-based sheets.
- Don’t over-flavor: lemon peel and cinnamon should be background, not perfume.
- Strain the custard: it feels fussy, but it buys you that smooth bite.
- Finish like a local: dust lightly with cinnamon (and optionally powdered sugar) right before serving.
Key takeaways: keep pastry cold, keep oven hot, thicken custard gently, bake until you see those dark blisters.
Conclusion: your next batch will be better than your first
Once you’ve made Portuguese custard tarts one time, the process stops feeling mysterious and starts feeling repeatable: chill the dough, cook the custard just to the right thickness, then bake hot enough to get color fast.
If you want an easy next step, try one controlled tweak per batch, like moving the rack higher or preheating longer, then keep notes. Small changes show up immediately in the crust and the top spots.
If you need a more predictable workflow for parties, making the custard a day ahead and baking right before serving is usually the simplest win.
FAQ
- Can I make Portuguese custard tarts with phyllo instead of puff pastry?
Possible, but the texture is different. Phyllo tends to shatter and dry out faster, while puff pastry gives a thicker, flaky bite that feels closer to the original. - Why did my custard puff up like a souffle?
That often happens when the oven heat is very intense or the cups are overfilled. It usually settles as it cools, but filling to about three-quarters helps keep the top flatter. - Do I need tart tins, or is a muffin pan fine?
A muffin pan works for most home bakers. Tart tins can give a slightly cleaner shape and more edge crispness, but they’re not required for a great batch. - How do I get the signature black spots on top?
High heat and top exposure matter. Preheat longer, bake on the upper rack, and make sure your oven is truly hot before the tray goes in. - Can I reduce the sugar?
You can, but it changes more than sweetness: sugar affects set and browning. If you reduce, do it modestly and expect lighter color and a softer custard. - Is it safe to eat custard tarts with a slightly soft center?
Many people enjoy them creamy, but egg safety is personal and can depend on risk factors. If you’re unsure, bake a bit longer or check internal temperature, and consider professional guidance for high-risk groups. - Why is my pastry sticking to the pan?
Usually not enough butter or the tarts cooled too long in the tin. Grease well and unmold after about 10 minutes while they’re still warm.
If you’re already comfortable with puff pastry and want the most consistent results, consider trying a rough puff dough next, it’s a reasonable middle ground that keeps the recipe fun without turning it into an all-day project.